If three o’clock keeps sending you toward the vending machine or the drive thru, the problem usually isn’t willpower. It’s that nothing easy and satisfying is within reach at the moment the craving hits. No bake energy squares fix that gap. They come together with pantry staples, about ten minutes of hands on work, and a short rest in the fridge to firm up, and once they’re made, they sit in your freezer ready to grab whenever the afternoon slump shows up again.
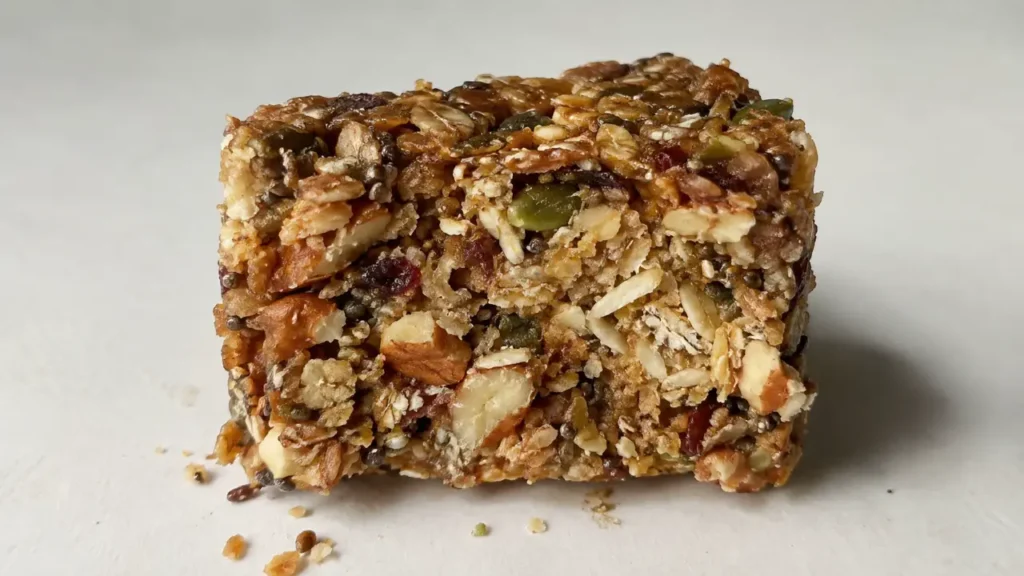
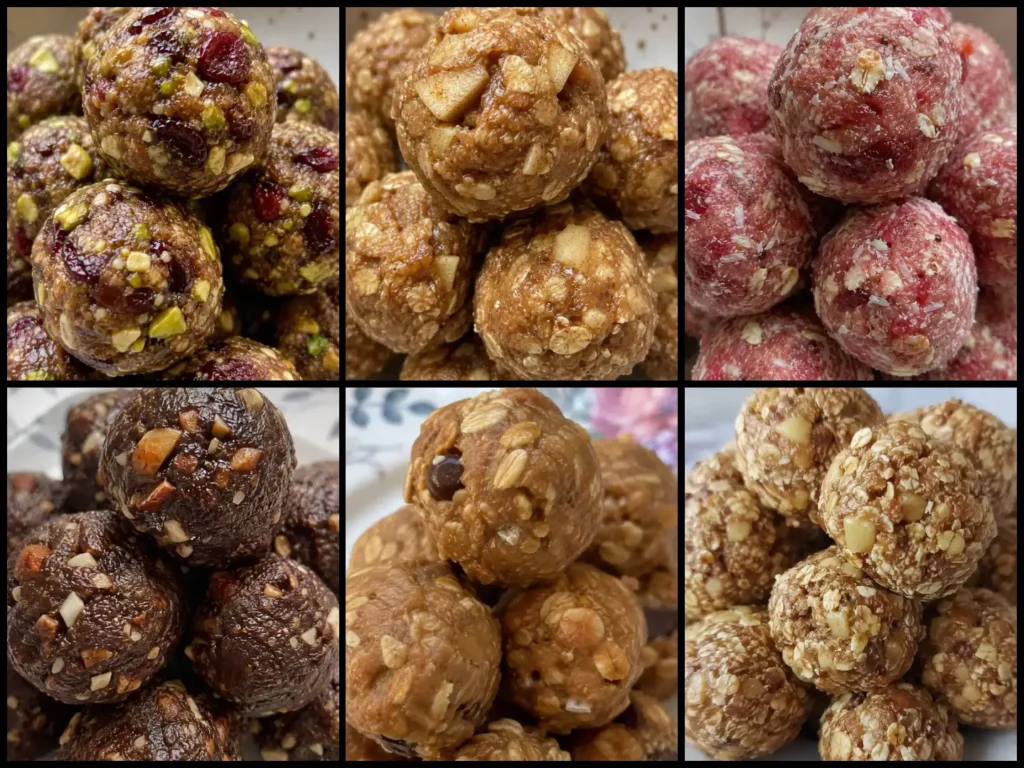
What makes these squares worth keeping in regular rotation is the variety. Instead of making five batches of the same oat bar, this collection moves through different bases: oats and peanut butter, dates and cocoa, toasted pumpkin seeds, dried cranberries and walnuts, and a coconut cashew combination that leans a little tropical. That range means there’s almost always one that fits the moment, whether you want something that tastes closer to a cookie or something that feels more like a trail mix bar.
None of these recipes call for an oven, a stand mixer, or any equipment more complicated than a saucepan or a food processor. Mix, press, chill, cut. That’s the whole process, five different ways, and it scales easily if you want to make two or three batches back to back on a Sunday afternoon.
What You’ll Get From This Guide
This article walks through five distinct no bake energy square recipes, each with clear ingredient lists and step by step instructions written for a normal home kitchen. Beyond the recipes themselves, you’ll find guidance on getting the texture right on the first try, ideas for swapping ingredients based on what’s in your pantry or what allergies you’re working around, and practical answers to the questions that tend to come up once you’ve made a batch or two, like why a mixture won’t hold together or how long these actually keep.
Why No Bake Energy Squares Are Worth Making
The appeal of a no bake square comes down to control. When you make your own, you decide what goes in and what doesn’t. Store bought granola bars and energy bites often carry more added sugar and a longer ingredient list than most people expect, while a homemade batch typically needs five or six ingredients you can actually picture in your kitchen.
There’s also the time math. A batch that takes ten minutes of active work and yields sixteen squares works out to well under a minute of effort per serving, especially once you factor in that a single batch can last two weeks in the fridge or three months in the freezer. That’s a lot of ready to eat snacks from one short session, which matters most on the mornings when packing a lunchbox or gym bag is the last thing there’s time for.
Texture is the other reason these squares work so well as a category. Because everything binds around a sticky base, whether that’s honey, maple syrup, or blended dates, the ingredients hold together without needing eggs, flour, or heat. That’s what makes them genuinely no bake rather than just bake at a low temperature, and it’s also what keeps the process quick enough to actually repeat on a busy week. So here we go for your best everyday no-bake energy squares.
Table of Contents
1. Classic Peanut Butter Oat Squares
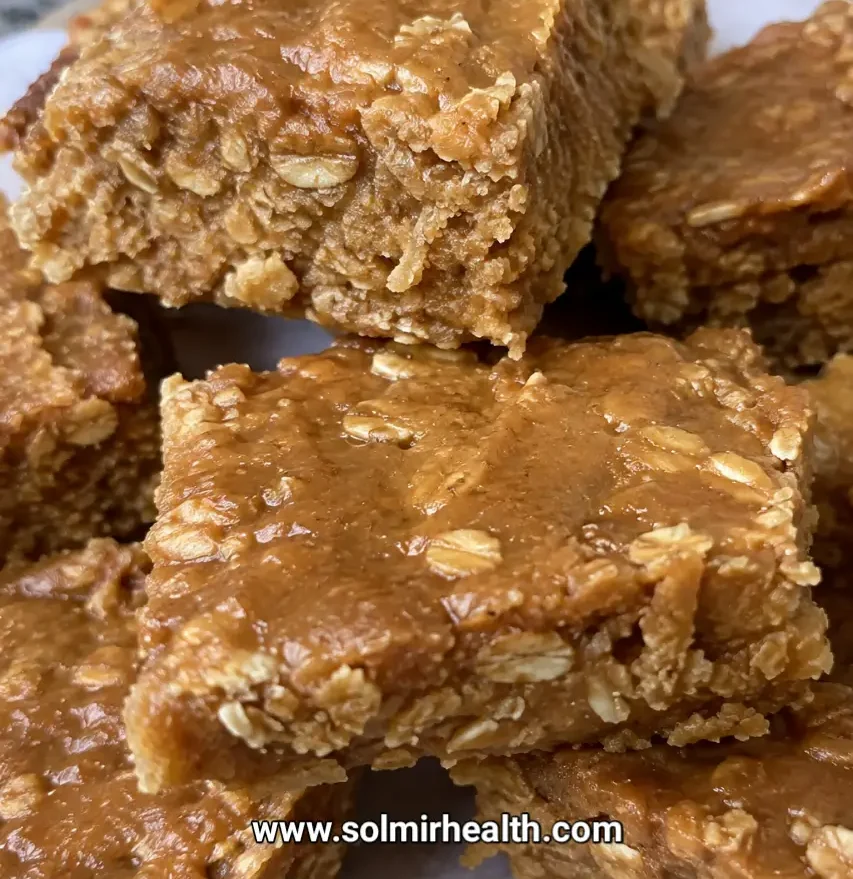
These taste like a firmer, more portable peanut butter cookie: chewy, a little salty, and sweet enough to satisfy a craving without sliding into dessert territory. They’re also the easiest of the five to make with kids helping, since there’s no chopping and no food processor involved, just stirring and pressing.
Ingredients
• 2 cups old fashioned rolled oats
• 1 cup creamy peanut butter
• 1/2 cup honey
• 1/4 teaspoon salt
• 1/2 teaspoon vanilla extract, optional
How To Make Classic Peanut Butter Oat Squares
- Line an 8 by 8 inch pan with parchment paper, leaving an overhang on two sides so the block lifts out easily later.
- In a medium saucepan over low heat, warm the peanut butter and honey together, stirring until smooth and pourable, about 2 minutes. Remove from the heat.
- Stir in the vanilla and salt, then fold in the oats until every oat is coated.
- Transfer the mixture to the prepared pan. Press it down firmly and evenly with the back of a spoon or a piece of parchment. A tight, even press now is what keeps the squares from crumbling once they’re cut.
- Refrigerate for at least 30 minutes, until firm to the touch.
- Lift the block out using the parchment overhang and cut into 9 or 16 squares, depending on the size you want.
If the mixture feels loose after chilling and doesn’t hold its shape when cut, working in an extra 2 to 3 tablespoons of oats before pressing usually firms it right up for the next batch.
2. Cacao Almond Date Squares
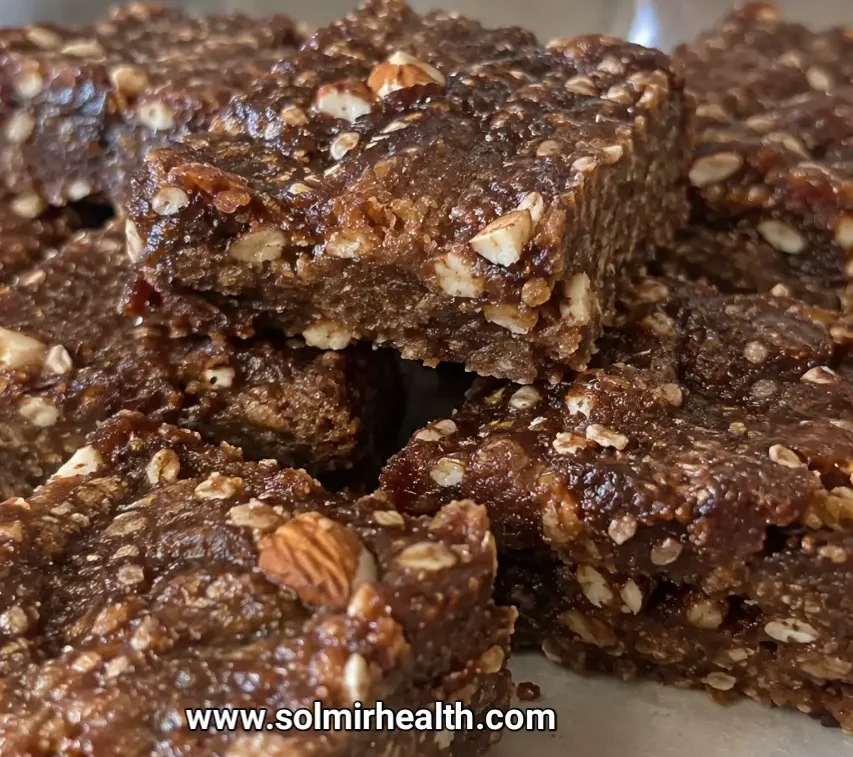
Dates do the heavy lifting in this recipe, giving the squares a soft, fudgy texture without any added sugar. The cocoa powder pushes the flavor closer to a brownie bite than a typical energy bar, which makes this one feel like the most indulgent of the five even though the ingredient list is short.
Ingredients
• 1 1/2 cups pitted Medjool dates, about 12 to 14 dates
• 1 cup raw almonds
• 3 tablespoons unsweetened cocoa powder
• 1/4 teaspoon salt
• 1 to 2 tablespoons water, only if needed
How To Make Cacao Almond Date Squares
- If your dates feel dry or stiff rather than soft and sticky, soak them in warm water for 10 minutes, then drain well before using.
- In a food processor, pulse the almonds until they form a coarse, sandy texture. A few small chunks are fine and add texture.
- Add the dates, cocoa powder, and salt. Process continuously until the mixture clumps together into a sticky dough, scraping down the sides as needed. If it isn’t coming together after a minute or so, add water one tablespoon at a time until it does.
- Press the mixture firmly into a parchment lined 8 by 8 inch pan.
- Chill for at least 30 minutes before cutting into squares.
These hold together reasonably well even without refrigeration for a few hours, which makes them a solid choice for a lunchbox that won’t see a fridge until midday.
3. Seed Power Squares
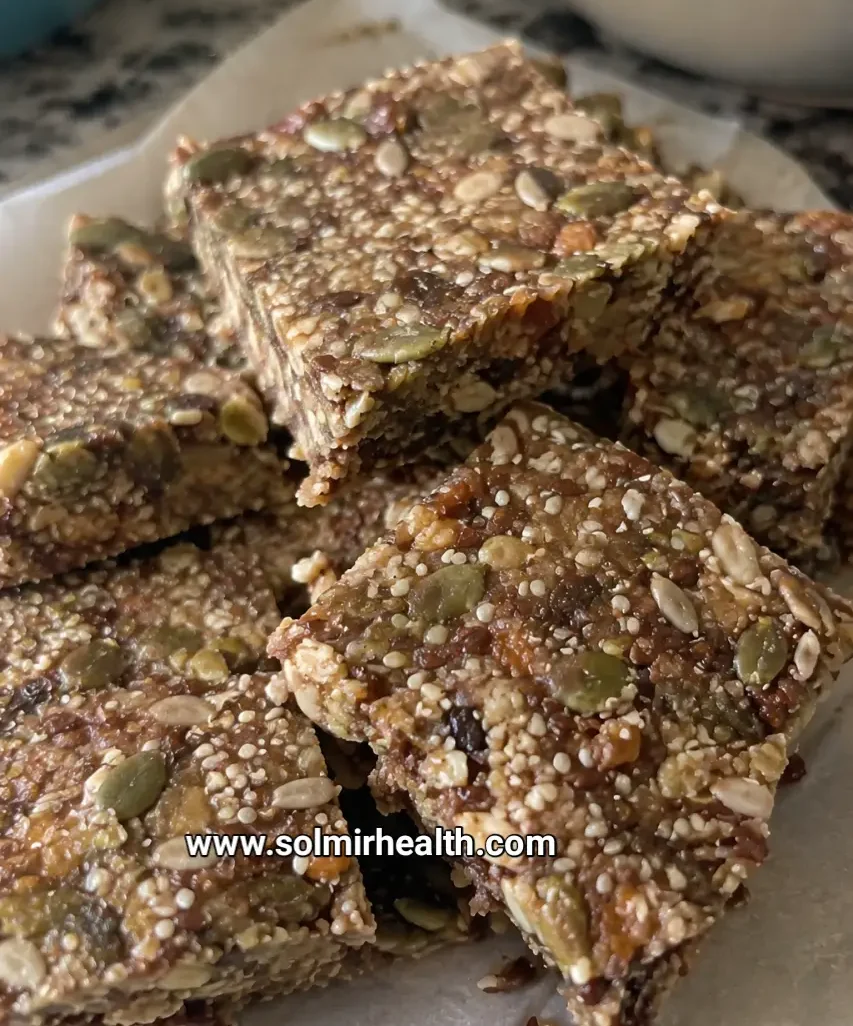
Built around pumpkin seeds instead of nuts, this recipe is the one to reach for if you’re packing snacks for a nut free classroom or office. Maple syrup gives the squares a milder, less sticky sweet flavor than honey, which lets the toasted seed flavor come through more clearly.
Ingredients
• 1 1/2 cups raw pumpkin seeds, pepitas
• 1 cup old fashioned rolled oats
• 1/2 cup maple syrup
• 2 tablespoons sunflower seed butter
• 1/4 teaspoon salt
How To Make Seed Power Squares
- Toast the pumpkin seeds in a dry skillet over medium heat for 3 to 4 minutes, stirring often, until they smell nutty and start to pop slightly. This step is optional, but it noticeably improves the flavor. Let the seeds cool for a few minutes before continuing.
- In a small saucepan, warm the maple syrup and seed butter together over low heat until smooth, about 1 to 2 minutes.
- Stir in the salt, then fold in the oats and pumpkin seeds until everything is evenly coated.
- Press the mixture into a parchment lined 8 by 8 inch pan, packing it tightly into the corners.
- Refrigerate for at least 45 minutes. This batch benefits from a slightly longer chill since maple syrup sets softer than honey does.
- Cut into squares once firm.
Because maple syrup is thinner than honey, these squares stay a bit softer at room temperature than the others. Keeping them refrigerated until just before eating gives the cleanest cut and the sturdiest bite.
4. Cranberry Walnut Squares
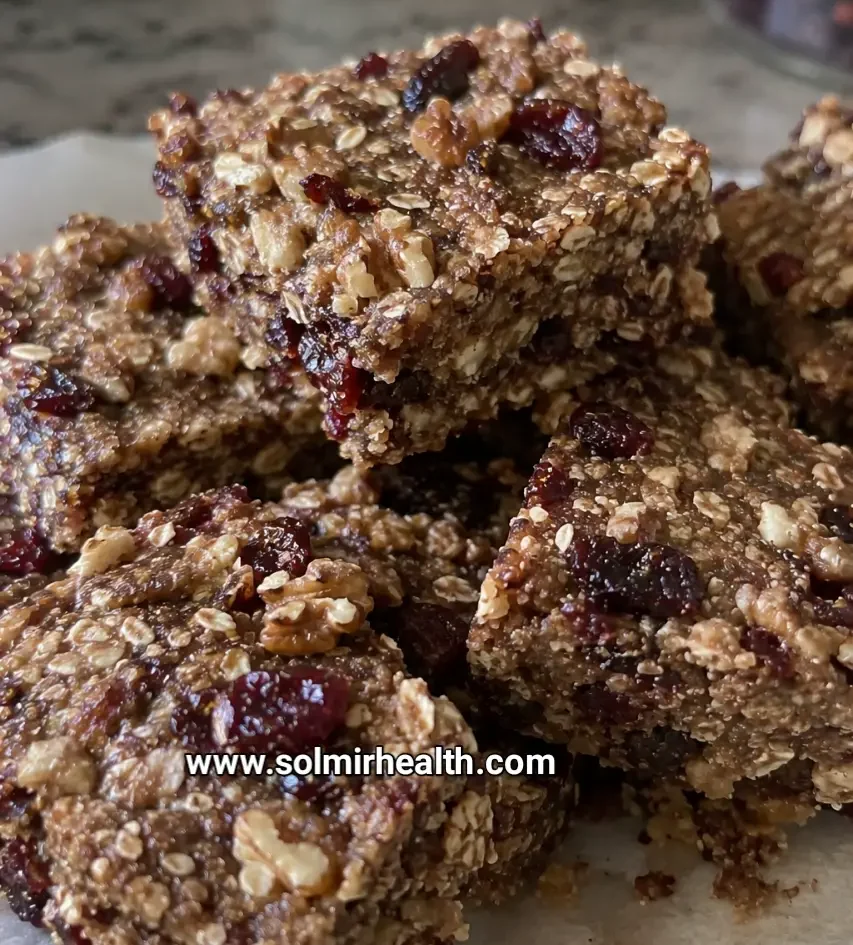
The tartness of dried cranberries against the earthiness of walnuts keeps this batch from tasting overly sweet, and it’s the closest of the five to a traditional trail mix bar. It’s also a good option for anyone who finds the other recipes a bit too sweet for an everyday snack.
Ingredients
• 1 cup walnuts
• 1 cup dried cranberries
• 1/2 cup old fashioned rolled oats
• 1/4 cup honey
• 1/4 teaspoon salt
How To Make Cranberry Walnut Squares
- Pulse the walnuts in a food processor until coarsely chopped. You want visible texture here, not a fine powder.
- Add the cranberries, oats, honey, and salt. Process until the mixture starts to clump and holds together when pressed between your fingers, about 20 to 30 seconds. Scrape down the sides once during processing.
- Press the mixture into a parchment lined 8 by 8 inch pan, using firm, even pressure across the whole surface.
- Chill for at least 30 minutes.
- Cut into squares, wiping the knife between cuts if the cranberries are making it sticky.
If the dried cranberries you’re using are on the tougher, chewier side, soaking them in warm water for 5 minutes and patting them dry before processing keeps them from turning into hard little pebbles once the squares are chilled.
5. Coconut Cashew Vanilla Squares
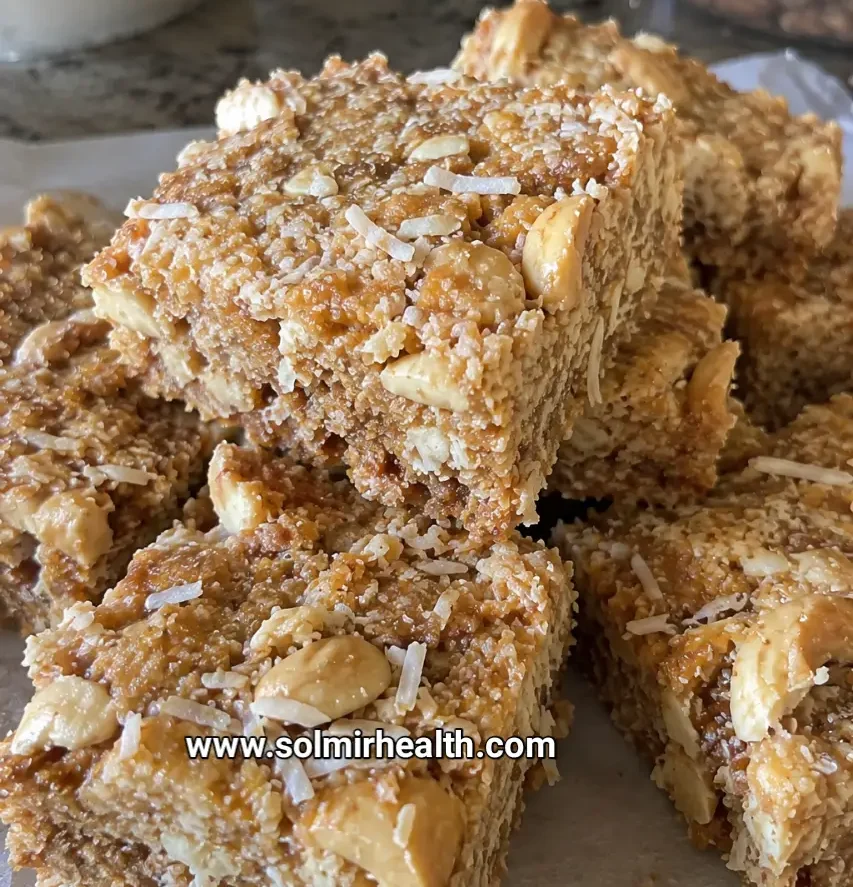
These taste like a simplified coconut macaroon pressed into bar form: sweet, rich, and a little tropical thanks to the vanilla. Cashews keep the texture creamier than the other nut based squares in this collection, which makes this one feel the most like a treat.
Ingredients
• 1 cup raw cashews
• 1 cup unsweetened shredded coconut
• 1/3 cup honey or maple syrup
• 1 teaspoon vanilla extract
• 1/4 teaspoon salt
How To Make Coconut Cashew Vanilla Squares
- Pulse the cashews in a food processor until they break down into coarse crumbs, about 15 to 20 seconds.
- Add the shredded coconut, honey, vanilla, and salt. Process until the mixture is evenly combined and holds together when pinched, about 30 seconds.
- Press firmly into a parchment lined 8 by 8 inch pan. This mixture is naturally a little looser than the others, so take an extra moment to pack it tightly into the corners and edges.
- Refrigerate for at least 45 minutes before cutting.
- Cut into squares and store them right away, since this batch softens faster at room temperature than the oat based squares do.
Preparation Tips for Better No Bake Squares Every Time
A few small habits make the difference between squares that hold their shape and ones that fall apart the moment you pick them up.
Press harder than feels necessary. Every recipe in this collection depends on a tight, even press to set properly. A loose press leaves air pockets that turn into crumbly edges once the block is cut. Using a second sheet of parchment over the top and pressing with the flat bottom of a measuring cup or glass gives you more even pressure than the back of a spoon alone.
Let the fridge do its job before cutting. Cutting into a batch too early is the single most common reason a square falls apart on the first bite. Even when the mixture looks set on top, the center often needs the full chill time to firm up all the way through. If you’re not sure, press a finger gently into the center. It should feel firm and spring back only slightly.
Use a sharp knife and clean it between cuts. Sticky mixtures, especially the date and cranberry ones, tend to drag and tear if the knife isn’t clean. Wiping the blade with a damp cloth every two or three cuts keeps the edges neat.
Warm rather than melt. When a recipe calls for gently warming honey, maple syrup, or nut butter, low heat and a couple of minutes are all that’s needed. Overheating can make the mixture too thin to hold the dry ingredients properly once it cools, so it’s worth resisting the urge to speed things up with higher heat.
Smart Substitutions and Variations
One of the advantages of a no bake base is how forgiving it is to ingredient swaps, as long as you keep the ratio of wet binder to dry ingredients roughly the same.
If you’re working around a peanut allergy, sunflower seed butter is a reliable one to one swap for peanut butter in the classic oat squares, and it won’t noticeably change the texture. For anyone avoiding tree nuts entirely, the cacao squares can be made with sunflower seeds in place of almonds, though the flavor will be a touch less rich.
Honey and maple syrup can generally be swapped for each other across these recipes, with two things to keep in mind: maple syrup sets a little softer, so a batch made with maple may need a slightly longer chill, and honey has a stronger flavor that can compete with more delicate additions like coconut or citrus zest.
For extra texture or flavor, small additions work well without throwing off the structure. A tablespoon of chia seeds or ground flaxseed blends into any of the oat based recipes without changing the process. A handful of mini chocolate chips, added after the mixture has cooled slightly so they don’t melt, works nicely in the peanut butter or coconut cashew versions. Orange zest is a natural match for the cranberry walnut squares if you want to brighten the flavor.
If you’d rather skip the food processor for the almond, walnut, or cashew based recipes, finely chopping the nuts by hand works too. It just takes a bit longer and gives you slightly less control over how fine the texture ends up.
How to Store and Freeze Your Squares
All five recipes store the same way. Keep the cut squares in an airtight container in the refrigerator for up to two weeks, with a small piece of parchment between layers so they don’t stick together as they sit.
For longer storage, freeze the squares in a single layer on a tray until solid, then transfer them to a freezer bag or container for up to three months. This two step freezing method keeps the squares from fusing into one solid block, so you can pull out exactly as many as you need. They thaw at room temperature in about 15 minutes, which is quick enough to grab one on the way out the door and have it ready to eat by the time you reach the car.
Troubleshooting Common Problems
The mixture won’t hold together. This is almost always a moisture issue. If dates or dried fruit feel dry and stiff rather than soft and sticky, they won’t blend into a cohesive dough. Soaking them in warm water for 5 to 10 minutes before processing usually solves it. For oat based recipes, an extra tablespoon or two of your binder, whether that’s honey, maple syrup, or warmed nut butter, can pull a dry mixture together.
The squares are crumbly after chilling. This usually points back to how firmly the mixture was pressed into the pan before chilling, rather than a problem with the ingredients themselves. Next time, press with more force and use a flat bottomed object rather than just a spoon to get even pressure across the whole pan.
The squares are too soft to cut cleanly, even after chilling. This tends to happen with the maple syrup and coconut based recipes, since both set softer than honey does. Giving them an extra 15 minutes in the fridge, or moving them to the freezer for 10 minutes right before cutting, firms them up enough for a clean slice.
The flavor tastes flat. A pinch more salt than you’d expect is often the fix. Salt is doing real work in these recipes, balancing the sweetness of the honey or maple syrup, and it’s easy to under season a mixture that isn’t cooked and tasted along the way the way a stovetop recipe would be.
Final Thoughts
Having a few different flavors on hand, one nut based, one seed based, and one fruit forward, means there’s almost always something that fits the moment, whether that’s a pre workout bite or an afternoon reset. None of these recipes need an oven, a mixer, or more than about ten minutes of active effort, which makes it realistic to make two or three batches back to back and keep the freezer stocked for weeks at a time. Once you’ve made a batch or two, you’ll likely find the one or two combinations that fit your routine best, and from there it’s just a matter of keeping the ingredients on hand.